Saturday, May 2, 2015

Finally, the freaking lift kit!!!!

Up until September I hadn't done anything to her.  I was gone for the summer doing more training crap.  As soon as I got back I ordered the Rusty's 3.5" suspension lift, a Kevin's Offroad adjustable trackbar kit and Daystar Poly Bushings.  That trackbar is crazy beefy and worth the money in my opinion.

I wanted to save a little more before I bought the kit, but I had horrible, horrible death wobble.  We would hit a small pot hole and the whole car would shimmy and shake so bad my friends thought we were going to die.  I literally had to pull over and stop the car to make it stop shaking.  It got to the point that I couldn't drive anywhere because the roads here suck so bad.  So, here it is, all the pictures of the install:

 All this crap came off.  Took a big can-o-man thanks to the rust.  Again, never buy a car the previous owner says was a beach car...


The trackbar was rusted on so bad I had to sawzall it at the axle side.  Not to mention, it didn't have the original nut on the back with the tab.


I also had to take a cutting wheel to get the trackbar off of the original bracket so I can send the core back to Kevin's Offroad.


Boom, a day and a half later, front end is fully installed.  


While driving to work one early, dark and rainy morning, Bandit died.  Right in the middle of the road.  With about five cars behind her.  Just died. 

So I turned the key, she started up and I was able to drive her to a parking lot and leave her until I could get back to her later.  Luckily work is just a short walk away.

Later that day I started her up and she was running great.  I started driving and she died again.  I was puzzled, but I knew it had to be electrical.  Battery and fuel are good because she starts, and I just recently replaced the fuel filter.

I popped her hood, started her up and started jiggling around wires.  I moved some around and she died again.  I kept doing it until I pin-pointed the problem.

See the bare wires below in the red box?  They are part of the distributor switch plate.  The bare wires were shorting out on my engine block.


Instead of spending the forty-odd bucks for the replacement I decided to make my own fix.


I separated all the wires all the way up to the base and covered them in Ultra Black.  After it dried I wrapped it in electrical tape and zip-tied it to itself.


Its been about a year and I haven't had any problems with it since. 
Shortly after the last repairs were complete I went on a long hiatus.  Partly because I had to leave to go elsewhere for a few months for training.  Partly because I couldn't get pictures from my iPhone to my computer without e-mailing them all, which was a pain.  No more iPhone pics from here on out.  Also, I was just lazy and faced with the task of organizing all the pictures I simply didn't want to do it, until now.

I'll start off by going way back in time.

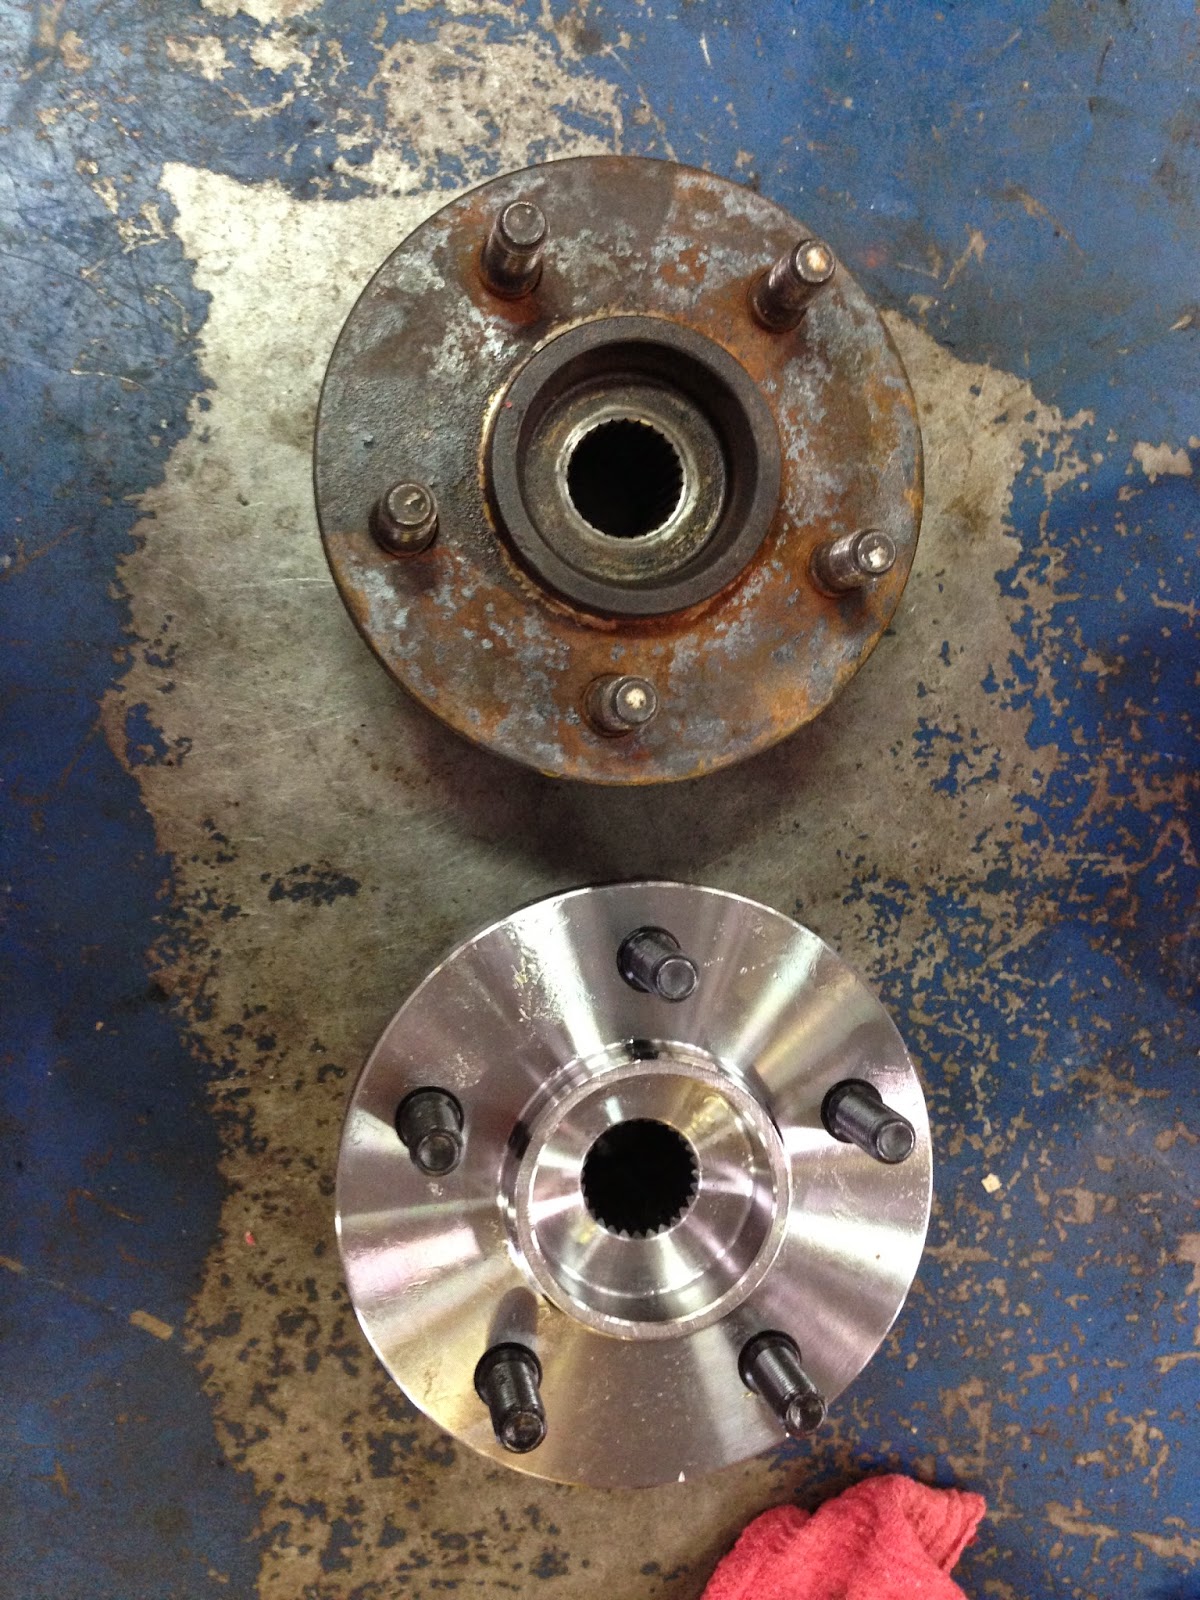
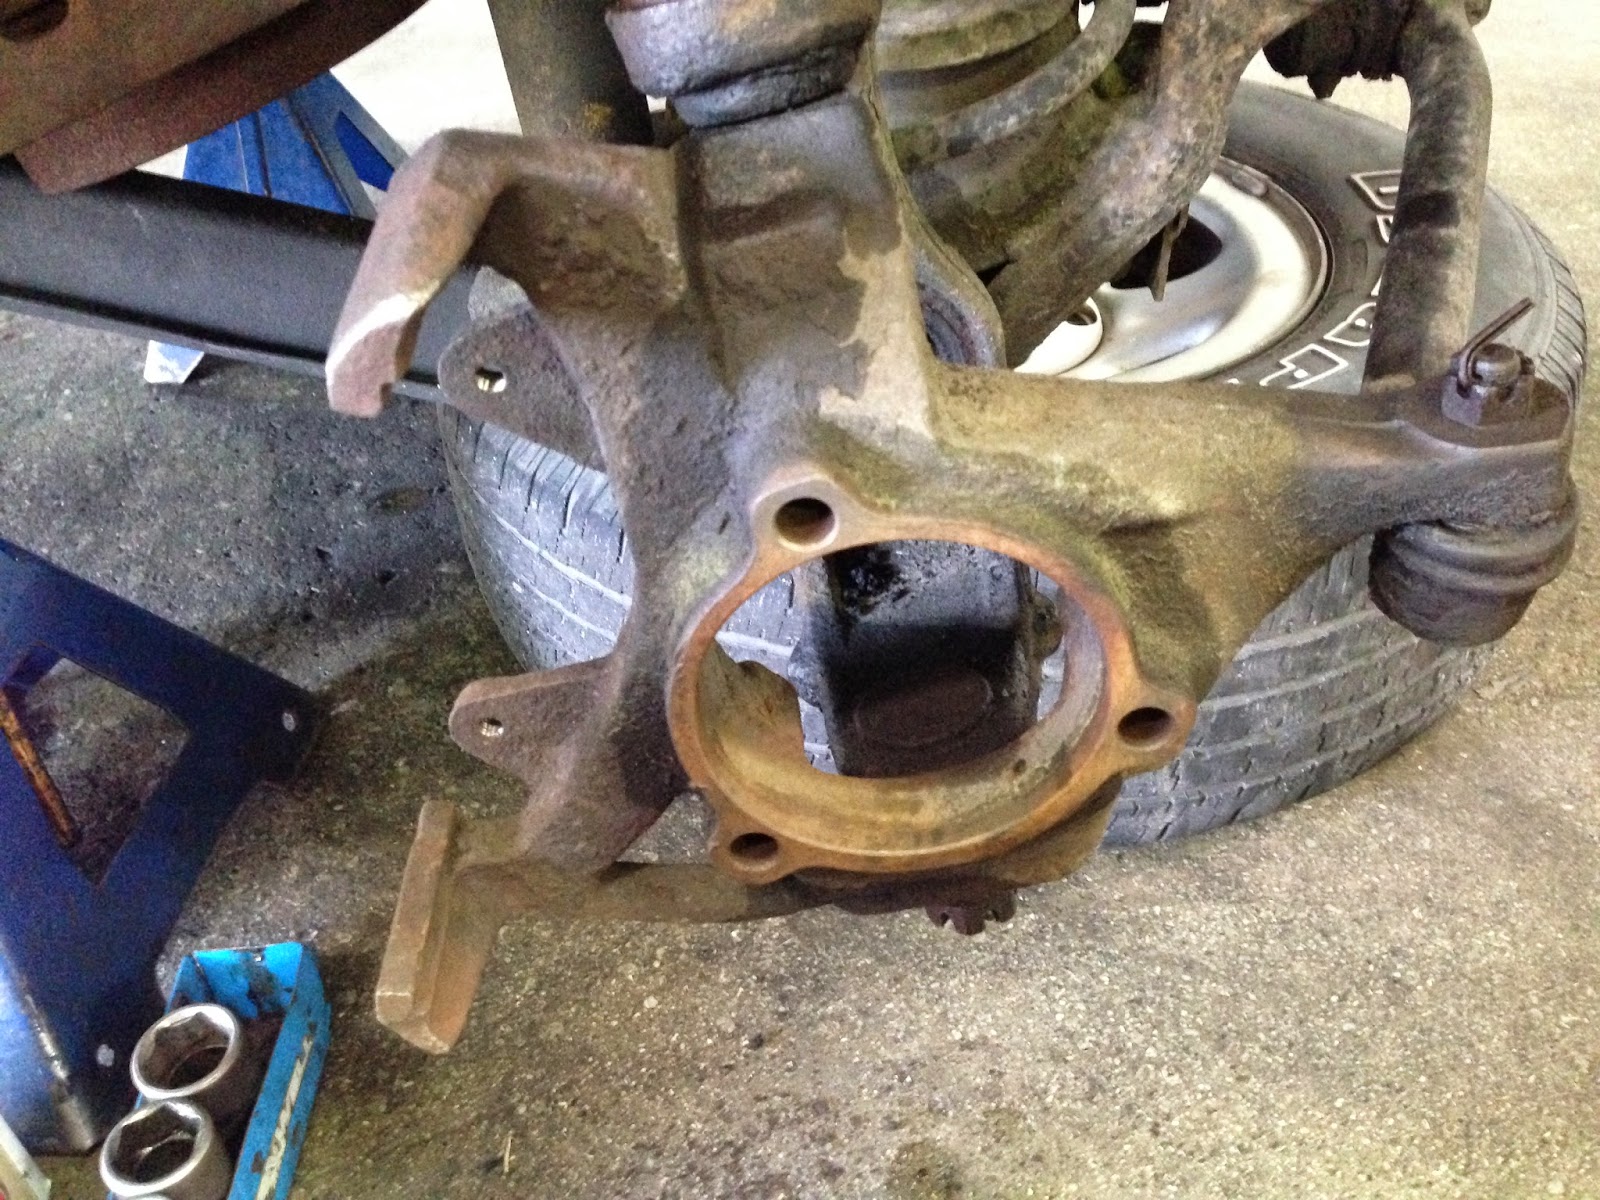
When I returned from training I ordered new wheel hubs and also got a ball joint kit from Synergy, MFG.  Compared to the original ball joints, those things are beefy and come with sweet dust covers.  I love Bandit, but I will never buy a car from someone who says "it was a beach car" ever again.  Upon the ball joints breaking free from the knuckle, shards of rust shot out everywhere.  It wasn't a fun job and took two whole days at the auto shop to complete.

This is the old hub:


Old hub and new hub comparison:


Steering knuckles weren't too bad, but I cleaned up all the mating surfaces and gave them a thin coat of grease


Here is a side-by-side of the old ball joints with the new.  As you can see, one of them simply just fell apart.  Probably factory ball joints.


For some reason my XJ has CV joint axles.  This is the base model, with no cruise control, so I don't know why these are even on here.  Regardless, the boots are torn on both sides.  I will not replace the boots, but will replace the axles in the future with the stronger, more reliable, u-joint axles.


Finished install before I greased them all up


Saturday, October 19, 2013

I have done a lot of work since the last post.

Last Saturday, October 12, 2013, it finally stopped raining long enough for me to install a new starter and oil pressure sensor unit.  Oil pressure sensor unit below.
She fired up right away.  Ignition problem fixed, and no more oil leak out of the oil pressure sensor.

The last major fix I needed to make was to fix the ruptured power steering high pressure hose.  I had both the return hose and the pressure hose on order from Quadratec.  I received the return hose, but the pressure hose was on back-order.  Instead of waiting I went to the local O'Reilly's and picked one up for the same price and cancelled the order with Quadratec.

So, Sunday, October 13, 2013, I replaced both hoses.  Upon removal of the old pressure hose, I found the reason for the rupture.  Someone must have installed replacement hoses at one time and crimped the metal part of the hose, thus causing a pressure build up whenever the wheel was turned and fluid sent to the steering box.  The crimp is pictured below in the red box.  I had to break the hose in order to remove the fitting from the steering box.
The new hoses were a pain in the butt to install.  I had to remove the air cleaner housing in order to get enough room to turn a wrench down at the steering box.

I refilled the power steering reservoir and bled the system.  The power steering still makes a little bit of a whine while turning, but not nearly as bad as it used to be.  Its tolerable until the pump dies, or I make the other, more important fixes.  Whichever comes first.  But, no more leak, power steering fixed.

I had Monday, October 14, 2013 off from work for Columbus Day.  So I decided to remove the throttle body and give it a good cleaning.  Below is the before and after pictures.  I'm sure you can tell which is which.

Yesterday, Friday, October 18, 2013, I finally got to make it over to the auto shop after work and do a major tune up.  I changed the oil, spark plugs, fuel filter, oil filter, and the CCV Elbows and grommets. Below is the old CCV Elbow next to the new one.
And here are the spark plugs.
These things hadn't been changed in a long time.  The gap was like twice the size it should be and they were all gunked up.

I also attempted to change the distributor cap and rotor, but I had purchased the wrong rotor.

So, today, I went to O'Reilly's, returned the wrong rotor and picked up the correct on.  The engine had been running rough too.  When I had attempted to remove the cap last night, I pulled one of the spark plug wires off the cap and it pulled the entire contact point out of the cap.  So I had one cylinder not getting a good spark since last night.  While at O'Reilly's I also picked up a new ignition coil and spark plug wireset.

Upon removal of the old distributor cap, almost all the contact points came out with the wires.  you can see them, corroded, still sitting in the fittings below.
I cleaned all the internal parts as best as I could, installed the new coil and cleaned the engine block ground contact at the same time, and coated it with Vaseline to prevent any corrosion.  I then installed the rotor and cap, and wires. 

She has been running great all day.  Like a new car.  Throttle response has been greatly increased and the exhaust doesn't smell rich any more.  She smells clean and sounds great.


Monday, October 7, 2013

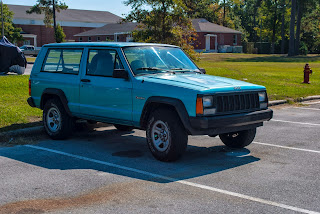
On Monday, September 30th, 2013, I purchased "Bandit" for $2,000.  She's my 1995 2-Door Jeep Cherokee (XJ) 4x4.  Inline 6-Cylinder engine with 153,734 miles and an automatic transmission.


Of course, with any vehicle that is 18 years old, and that high miles, she has some problems that need to be fixed.  There is an ignition problem.  I'm thinking its the starter/starter solenoid.  When the ignition switch is turned, the engine turns over a few times, then the starter disengages just before she starts up.  Sometimes the starter doesn't even engage.  
The high pressure hose of the power steering has a couple of these bad cuts in it, as seen above.  It sprays brake fluid everywhere, as you can see below, on the air filter housing.
There is also a pretty bad oil leak coming out of the oil pressure sending unit, pictured below.  I just received the replacement part today from Quadratec.


On Saturday, October 5th, 2013, I pulled out the sagging headliner.

Before:


After:


Today, Monday, October 7th, 2013, I purchased a new starter and removed the old one.  Unfortunately, I cannot install the new starter until I get a new bolt.  Whoever put the old starter in stripped it.